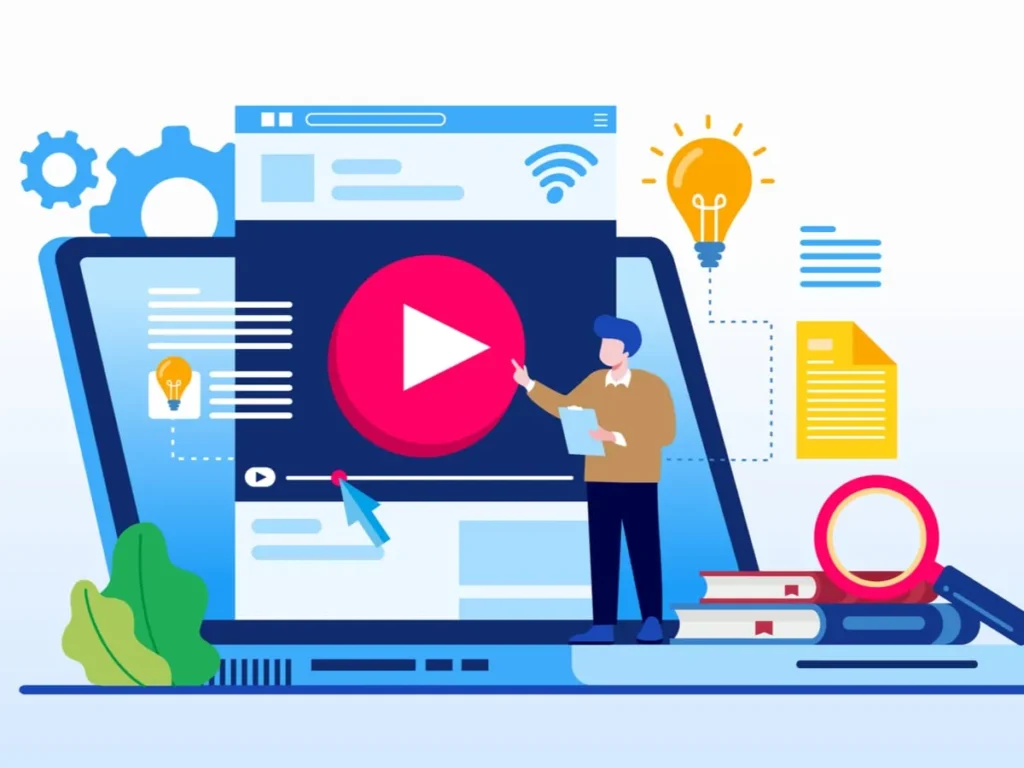
Creating a how-to video has become one of the most effective ways to share information and teach others.
Whether you’re creating a tutorial for YouTube, a product demonstration for your website, or an online course, a well-produced how-to video can drive traffic, engage your audience, and even help grow your business.
However, making a high-quality how-to video isn’t just about recording yourself explaining something — it involves careful planning, a solid recording setup, and thoughtful editing.
Let’s walk through everything you need to know to produce a professional how-to video that will captivate your audience from start to finish.
10 Tips for Creating Effective Instructional Videos
If you want to create videos that are both educational and engaging, there are key areas to focus on. Start with solid planning and scripting to ensure clarity and structure. Keep the pacing concise, use strong visuals to support your message, and make sure the audio is clear.
Demonstrate each step clearly, add brief introductions, and provide learners with resources for further learning. Finally, always test your video before posting to make sure everything flows smoothly.
By following these tips, you’ll be on your way to producing professional, effective instructional videos.
1. Defining the Purpose of Your Video

Before you even think about pressing the record button, you need to clearly define the purpose of your how-to video. What exactly are you teaching?
Who are you teaching? And what outcome do you want for your viewers after watching the video?
Ask yourself the following questions:
- What problem does your video solve? Do you want to show how to use a product, provide a solution to a common issue, or teach a new skill? Knowing this helps you focus your video and deliver value to your viewers.
- Who is your audience? Are they beginners or advanced users? Are they in a particular industry or just everyday consumers? Understanding your target audience will help shape the tone and complexity of your video.
- Where will your video be shared? The platform matters. A video intended for Instagram or TikTok may need to be shorter, more energetic, and visually engaging, while a YouTube tutorial might be more detailed and longer.
By answering these questions upfront, you can create a more focused and effective video.
2. Planning Your Content: The Blueprint of Your Video
Planning is arguably the most important part of the process. With a well-thought-out plan, you’ll know exactly what to record and avoid wasting time trying to figure things out on the fly.
Start by outlining the key points you want to cover in the video. A structured outline can help guide your narrative and ensure that you cover all necessary information without drifting off track. Here are some tips to plan your content effectively:
- Define the Structure: Break down your video into distinct sections, such as an introduction, main content, and conclusion. For example, in a tutorial on “How to Fix a Leaky Faucet,” you could begin with an intro that states the problem and what tools you’ll need, then move into a step-by-step breakdown of the process.
- Be Specific: The more specific you can be about the steps you’re covering, the better. A how-to video should provide clear, actionable steps. For instance, instead of saying “open the file,” say, “click on the ‘File’ menu in the upper left corner, then select ‘Open.’” This ensures viewers can follow along with precision.
- Time Considerations: Keep in mind the attention span of your audience. Don’t over-complicate things. The length of the video should match the topic. If the task is simple, keep it short and sweet. If it’s a detailed or involved process, plan to break it down into manageable chunks.
Planning ahead also helps reduce mistakes during filming and minimizes unnecessary retakes, saving you valuable time during the recording phase.
3. Writing a Script or Outline: Keep It Clear and Conversational
Some creators prefer to go off the cuff and talk naturally, but scripting or at least outlining your video is a good habit, especially if you’re covering complex material. It’ll help keep your video organized, and you won’t forget key points.
- Use Simple Language: It’s important to use clear and simple language that your audience can easily understand. Even if you’re teaching a technical skill, avoid jargon or overcomplicated explanations that could confuse beginners.
- Engage with Your Audience: Make sure your tone is conversational. Address your viewers directly, using words like “you” and “we” to create a sense of connection. Instead of saying, “To fix the issue, you will need a wrench,” try, “First, grab a wrench. Don’t worry, I’ll guide you through each step.”
- Include Callouts and Emphasis: If you’re covering multiple steps, add in cues for what’s important. For example, “This is a crucial step, make sure to check…” or “It’s really important that you do this carefully, otherwise…”
Having a script or outline can make you feel more confident when recording because it’s like having a roadmap for your video.
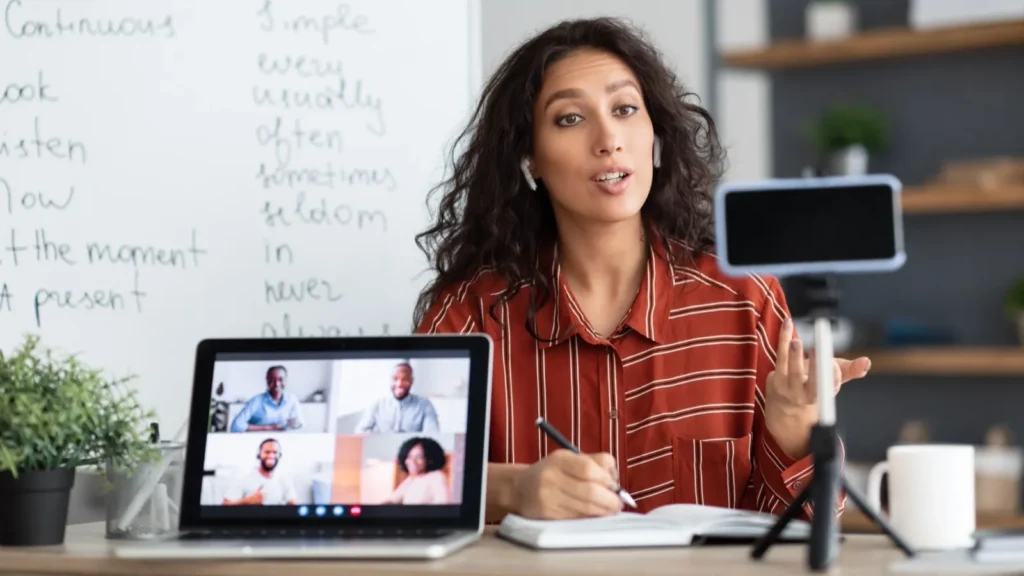
4. Gathering Your Equipment: You Don’t Need to Be a Pro, But It Helps

When it comes to how-to videos, good equipment doesn’t always mean expensive gear. You can make a great video with just a smartphone, but it’s important to ensure you have the right tools for the job. Here’s what you’ll need:
- Camera: If you’re recording yourself or demonstrating a process, your camera needs to be stable and able to focus clearly. While many smartphones today have excellent cameras, a DSLR or mirrorless camera will provide even higher quality.
- Microphone: Audio quality is just as important as video quality. Bad audio can make viewers tune out, even if the video is perfect. Invest in a good external microphone, whether it’s a lapel mic, shotgun mic, or condenser microphone. Clear, crisp sound is a must.
- Lighting: Proper lighting is essential for a professional-looking video. Avoid harsh overhead lights or dim rooms. Natural light works great if you’re shooting during the day. If you’re indoors, consider using softbox lights or LED panels to brighten up your shot evenly. Overhead or low lighting can create unflattering shadows.
- Tripod/Stabilizer: Shaky footage can be distracting. A tripod or a stabilizer will help keep your shots steady and professional-looking.
- Screen Recording Software: If you’re making a tutorial that involves showing your computer screen, you’ll need screen recording software. There are many free and paid options available, such as OBS Studio (free) or Camtasia (paid). These allow you to capture your screen while also recording your voice.
- Editing Software: Once your video is recorded, you’ll need editing software to polish it. You don’t need to use the most advanced software like Adobe Premiere Pro if you’re a beginner. Tools like iMovie (Mac), Filmora, or DaVinci Resolve (free) offer easy-to-use interfaces for basic editing.
5. Setting Up Your Recording Space: Lighting, Background, and Angles
The environment in which you film plays a huge role in the quality of your video. A clean and uncluttered background is essential for keeping the focus on your message. Here are a few tips for setting up:
- Lighting: Position your light source in front of you at a 45-degree angle. Avoid backlighting, as it will cause your face to appear in shadow. If you’re filming on a phone, try to keep the light source consistent to avoid flickering.
- Background: Your background should be neat and simple. A cluttered room or distracting decor can take away from the content. If you’re filming at home or in a workplace, tidy up the space, or use a plain wall as a backdrop.
- Framing and Angles: If you’re filming yourself speaking, position the camera at eye level. Avoid angles that are too high or low. Make sure the camera focuses on you or your subject in a clear and flattering way.
- Screen Recording Setup: When creating a tutorial on a computer or mobile device, ensure that your screen is clean, free from notifications, and well-organized. This will help keep your viewers focused on the tutorial.
6. Recording the Video: Take It Step-by-Step
Once your setup is ready, it’s time to record! Here are a few things to keep in mind:
- Speak Clearly: If you’re talking in the video, speak at a moderate pace and enunciate your words. If your instructions are difficult to follow, viewers will lose interest.
- Show and Tell: If you’re demonstrating something, make sure your actions are visible and easy to follow. If you’re showing how to assemble a product, for example, zoom in on your hands when necessary.
- Take Breaks: Don’t be afraid to take breaks if you need them. Filming in one continuous take might feel smooth, but it’s often more efficient to shoot small segments and piece them together during editing.
- Avoid Perfectionism: Don’t worry if you make a mistake. Most creators don’t nail it on the first take. You can always edit out mistakes in post-production.
7. Editing Your Video: Where the Magic Happens
Editing is where your video truly comes together. Even if you have excellent footage, a polished edit is key to creating a professional-looking final product. Here’s how to get started:
- Trim Unnecessary Parts: Cut out any awkward pauses, mistakes, or irrelevant footage. Keep the video as concise as possible while ensuring you cover all the important points.
- Add Transitions: Smooth transitions between scenes or steps help keep the flow of the video. Use fades, cuts, or wipes to make it easy for viewers to follow.
- Add Text and Annotations: Text overlays can emphasize key points, add clarification, or give viewers additional context. For example, you could add a note that says “Step 3: Tighten the bolts” while demonstrating the action.
- Improve Audio: Use audio filters to reduce background noise and balance the sound levels. Adding background music can enhance the mood, but make sure it doesn’t overpower your voice.
- Use Callouts: If a certain step is crucial or tricky, you can add visual callouts, arrows, or highlights to direct attention to that part of the screen.
8. Final Touches: Add Captions, Branding, and Links
- Captions: Adding captions can increase accessibility and help viewers follow along, especially if they are watching without sound. You can use YouTube’s auto-captioning feature or manually add them in your editing software.
- Branding: If you’re using the video for business purposes, make sure to add your branding at the beginning and end of the video. This could be a logo, intro animation, or your brand colors.
- External Links: If your video includes references to other resources, tools, or websites, include relevant links in the video description.
9. Optimizing for SEO and Uploading
Once your video is polished and ready to go, it’s time to upload. For platforms like YouTube, SEO plays a big role in helping people discover your video. To optimize for search:
- Title: Include relevant keywords in your title. For example, “How to Fix a Leaky Faucet in 5 Easy Steps.”
- Description: Write a detailed description that explains what the video covers, using related keywords naturally.
- Tags: Use tags that relate to the topic of your video. These can help YouTube categorize your video and make it discoverable.
10. Promoting Your Video

Once your video is live, it’s time to promote it. Share your video on social media, email newsletters, and other platforms where your target audience is likely to see it.
Engage with viewers in the comments to build a community and increase your video’s reach.
Conclusion
Making a how-to video doesn’t have to be overwhelming. With careful planning, the right equipment, and a solid editing process, anyone can produce a professional-looking video.
Remember to focus on clarity, simplicity, and delivering value to your audience. Follow these steps, and you’ll be well on your way to creating videos that teach, engage, and leave a lasting impact on your viewers. Happy filming!
FAQs
What equipment do I need to create an instructional video?
You’ll need a good camera (a smartphone can work), a microphone for clear audio, proper lighting, and a tripod or stabilizer to keep your shots steady.
How long should my instructional video be?
Keep it as short as possible while still covering all the necessary information. Aim for 5 to 10 minutes for most topics to maintain viewer engagement.
Do I need a script for my video?
While not required, a script or outline can help you stay organized and ensure you cover all key points clearly.
How can I make my video more engaging?
Use visuals, demonstrate each step clearly, maintain a friendly and conversational tone, and keep your pacing dynamic to hold the viewer’s attention.
Should I include captions in my video?
Yes, adding captions improves accessibility and can help viewers follow along, especially if they’re watching without sound.